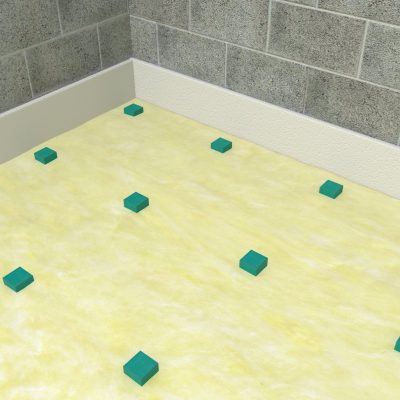
RIM is a high-performance noise control system that is easily installed. The rolls of RIM use acoustic batting to prespace isolation pads. These pads form an airspace—an essential component for noise control.
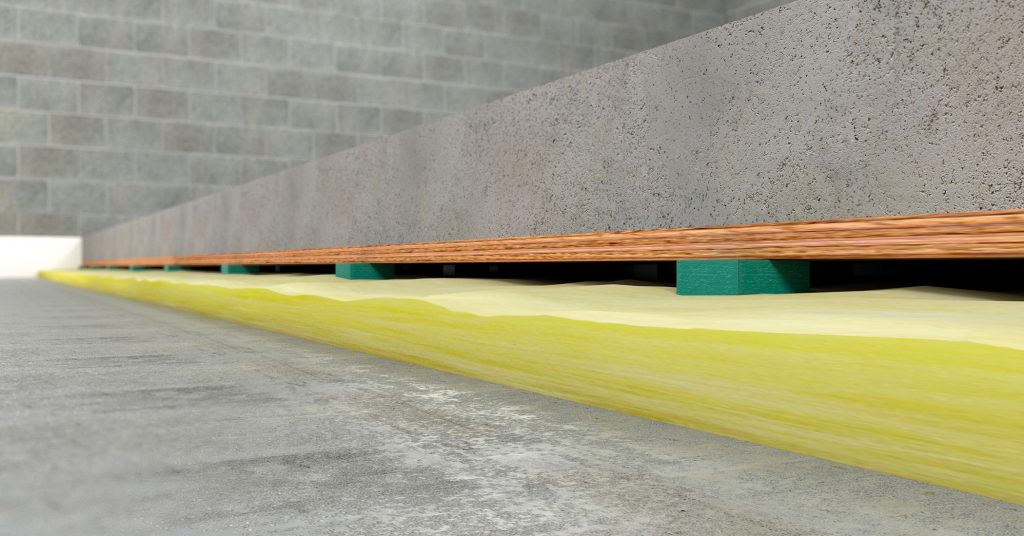
RIM Concrete - Rollout Isolation Material
At the core of RIM’s acoustic performance is the KIP pad. Uniquely permanent and dynamically predictable, this isolation medium provides freedom of design due to its stable natural frequency across a wide range of variable loading situations. The pads are available in different sizes and densities. Further, the spacing can be adjusted in the roll of RIM. Shop drawings, which incorporate pad selection and spacing, are included with the system.
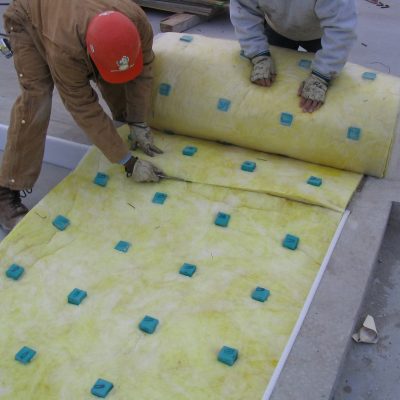
Installation is quick. When installing RIM, each roll is designed so the pads line up with the adjacent unrolled material. After all the material has been laid out, it is either covered with a concrete pouring form or structural concrete panels.
For structures that cannot support the weight of concrete, consider which replacing concrete with a wood composite, find details here.
Installation
Successfully installed for years under concrete floors found in mechanical rooms, studios, ballrooms, fitness centers, and theaters, Kinetics Noise Control’s RIM System remains the leading formwork technique for isolating concrete slabs in any floor or roof system requiring sound abatement. An original, RIM System consistently provides continuous, high-performing noise control for critical applications.
Our pour-in-place floor isolation system incorporates all critical components needed in a top-performing noise control system including: KIP isolators fixed in fiberglass batting, PPI Perimeter and Penetration Interface, spray adhesive, plywood junction plates, polyethylene sheeting and tape, and resilient, non-hardening perimeter sealant. KIP isolators spaced 12-, 16-, or 24-inches on center are available in different densities allowing for a multitude of load ranges under a single slab while maintaining a constant natural frequency.
Factory-trained sales representatives can help designers determine which system to use based on dead and live load requirements. Kinetics Engineering Group will provide design submittals. The fiberglass batting with KIP isolators prespaced is rolled-up and delivered in poly bags along with the specified accessories to the jobsite.
Benefits
• Can be designed for any load range
• Easy to create 1″, 2″, 3″, and 4″ airspaces
• Fast, simple, inexpensive installation
• Factory installation and supervision available
• RIM System successfully installed for over 45 years
• Natural Frequency constant over a wide load range
Installation Sequence
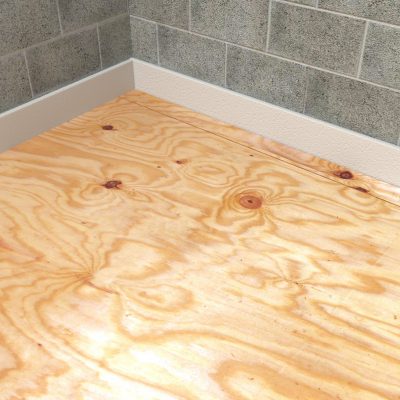
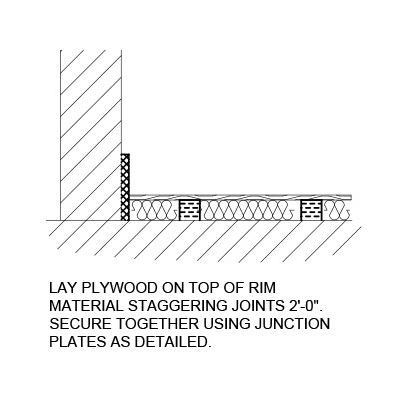
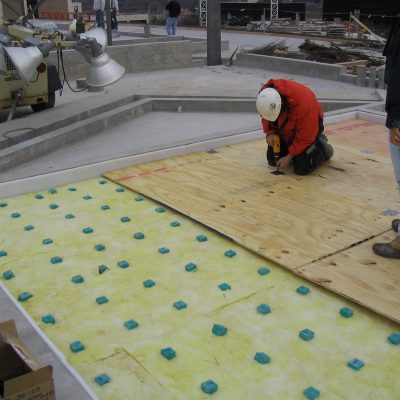
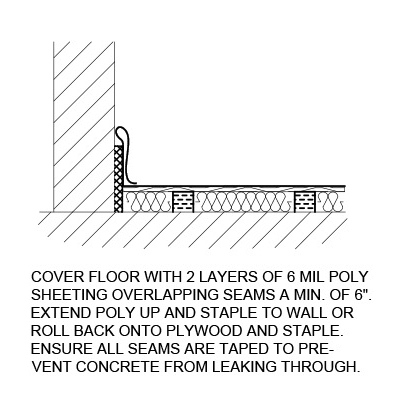
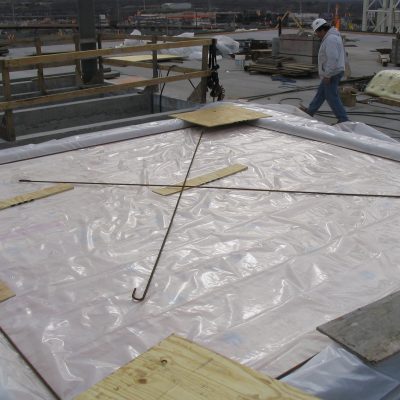
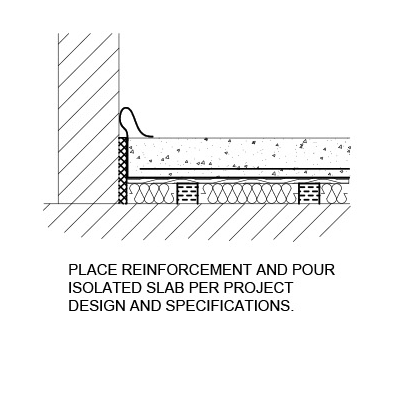
A pouring form is created by placing plywood on top of the isolators, and is held together using junction plates and screws. Two layers of 6-mil poly overlapped and taped at the seams cover the pouring form as temporary waterproofing. Concrete reinforcement is installed and then concrete poured in place. As dictated by the designer, trades can move about the floor to complete work in the space without the concrete having been cured to full strength – the floor is already positioned at final design elevation. There is no worry about keeping the floor clear for a second visit to “lift” the slab by an installation crew.
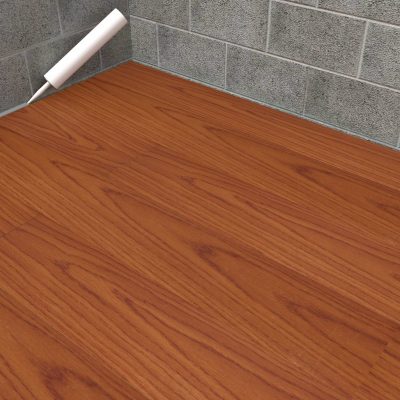
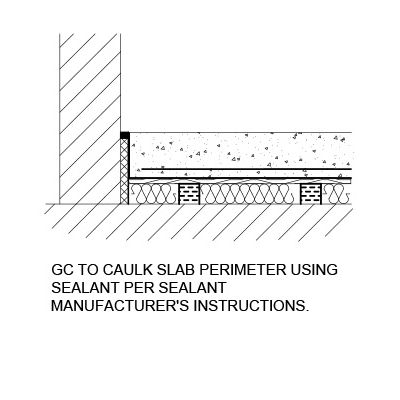
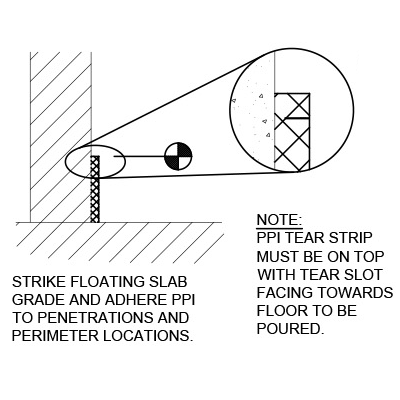
The final installation step of the RIM System requires removing the PPI tear strip and sealing the perimeter of the floating floor with resilient, non-hardening caulk.
Installation Sequence Images
RESILIENT INTERFACE
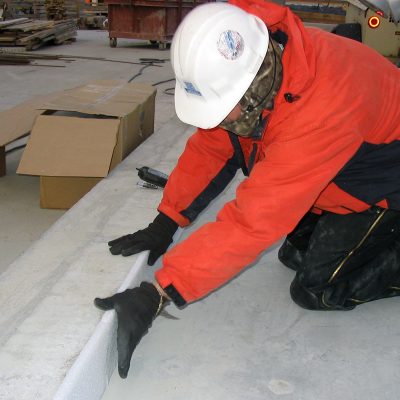
Adhere resilient interface (PPI by KNC) to all penetrations and perimeters. PPI prevents sound vibration from transferring from the isolated slab to the non-isolated structure.
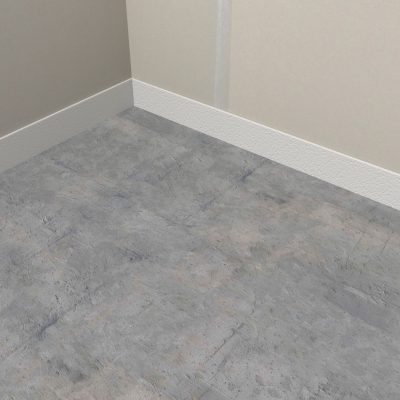
ROLL OUT RIM MATERIAL
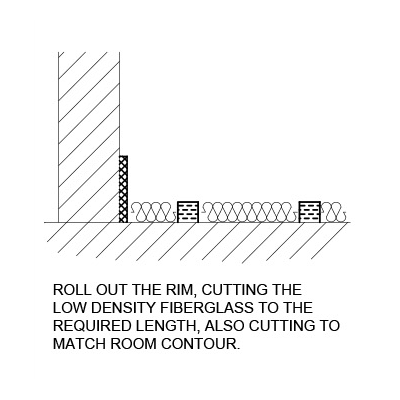
Unroll material and trim batt at perimeters.
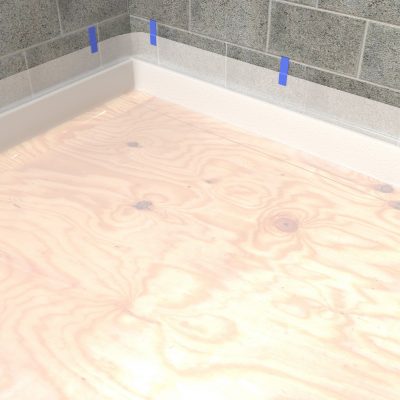
INSTALL POURING FORM
Lay plywood on top RIM, staggering joints, secure with Junction Plates (by KNC)
ADD SEEPAGE PROTECTION
Cover plywood with 2 layers of Poly
POUR SLAB
Install reinforcement and pour slab.
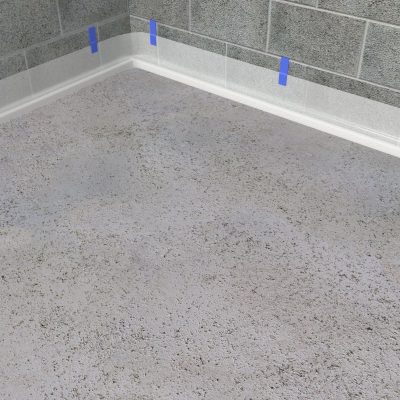

FINISH PERIMETER
Remove Tear Strip from PPI and seal perimeter gap.
